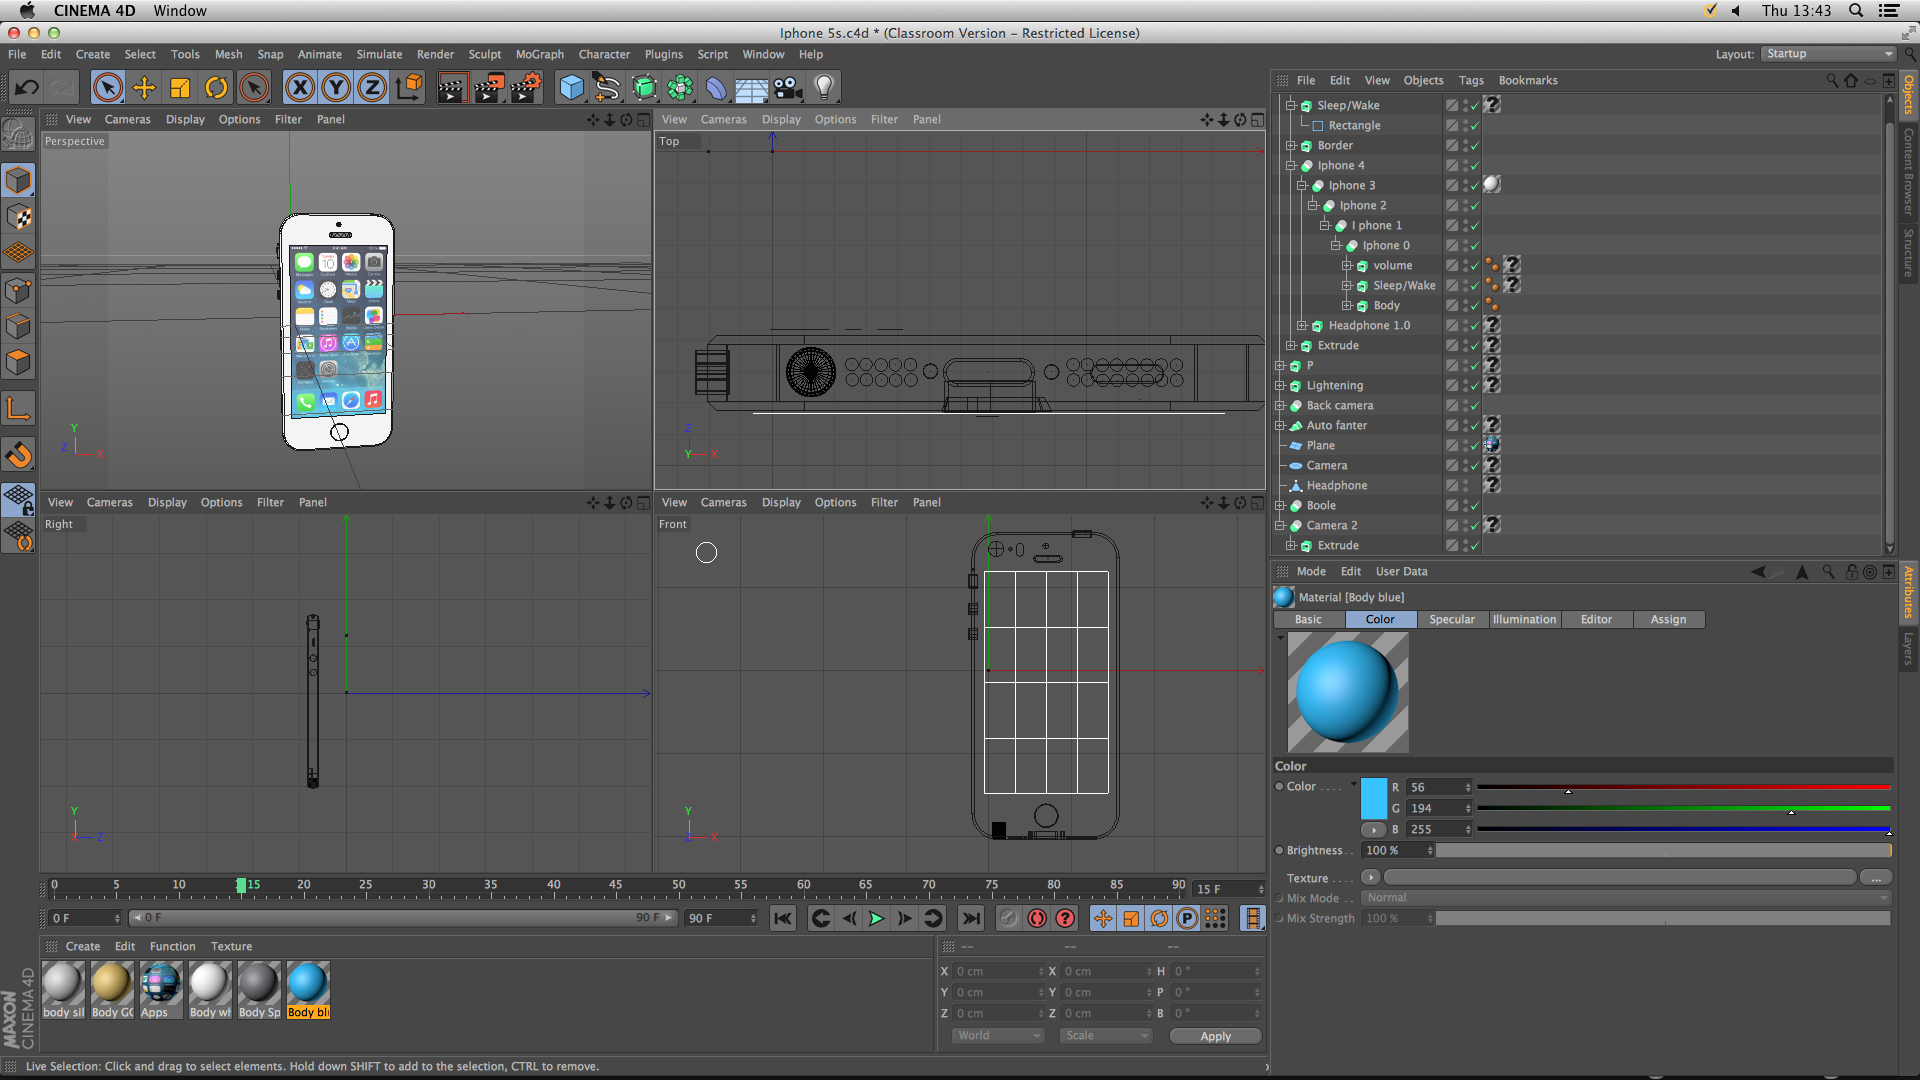
To create my i phone, Firstly i had to do 3 view sketch of my i phone. Secondly i went back to google and i found the i phone 2 view image and i saved them to my desktop. Then i opened up in Cinema 4D. As you can see below my progress.

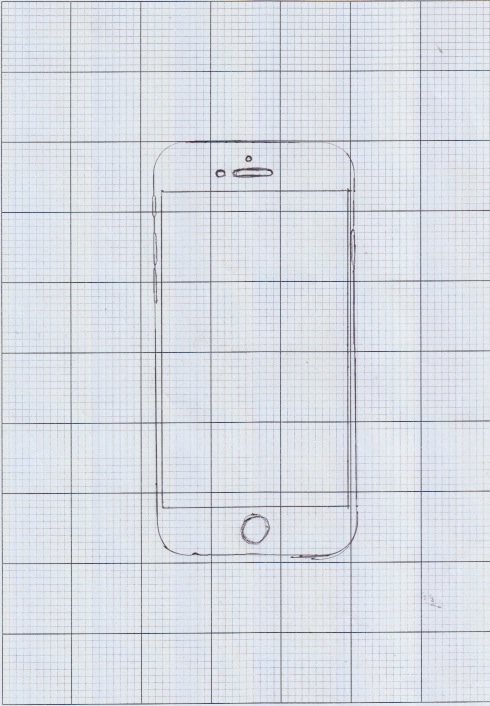
This is the image i found on google and i used this image to create my product.

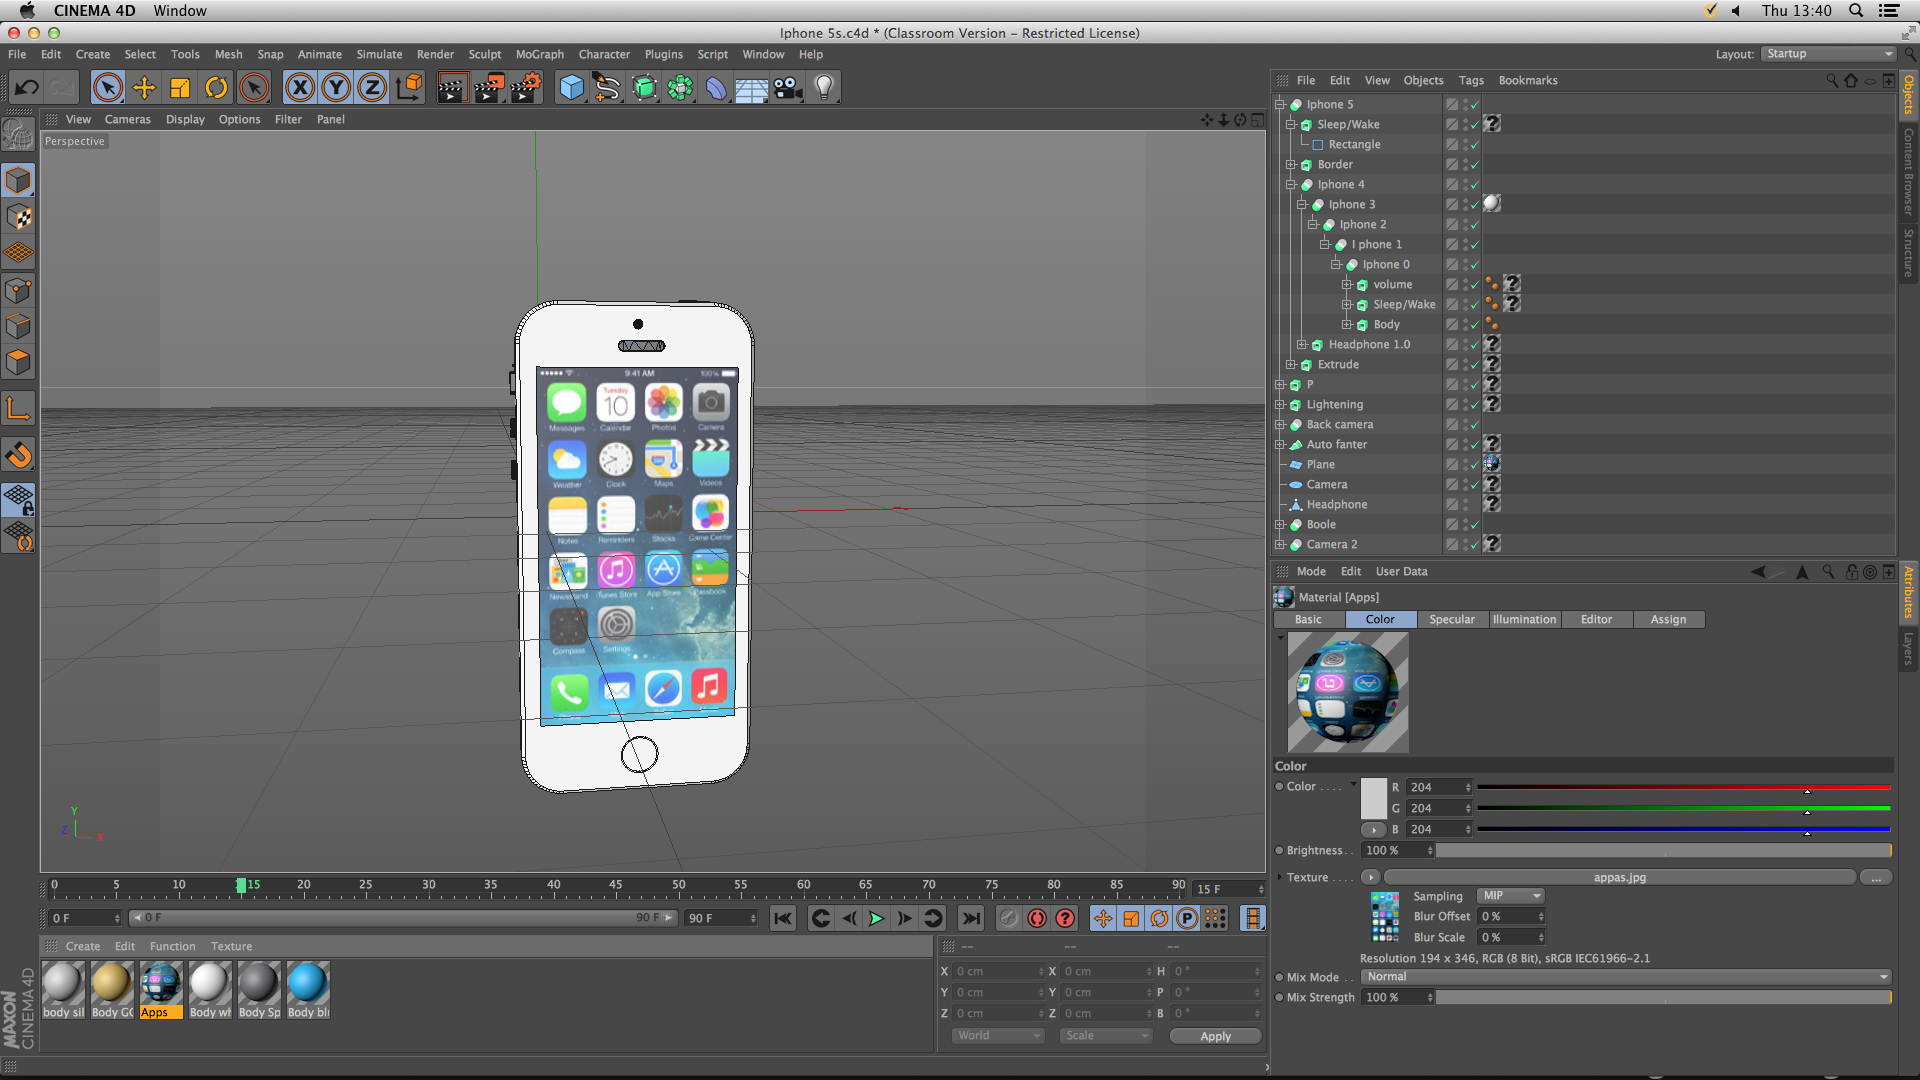
This is the final product in front view.

Firstly i created the Front by using the (Rectangle) under the objects. I also created the buttons and camera using the similar shapes under the object.

This is the image i used to create my product. I inserted this image by just dragging to the Cinema 4d.

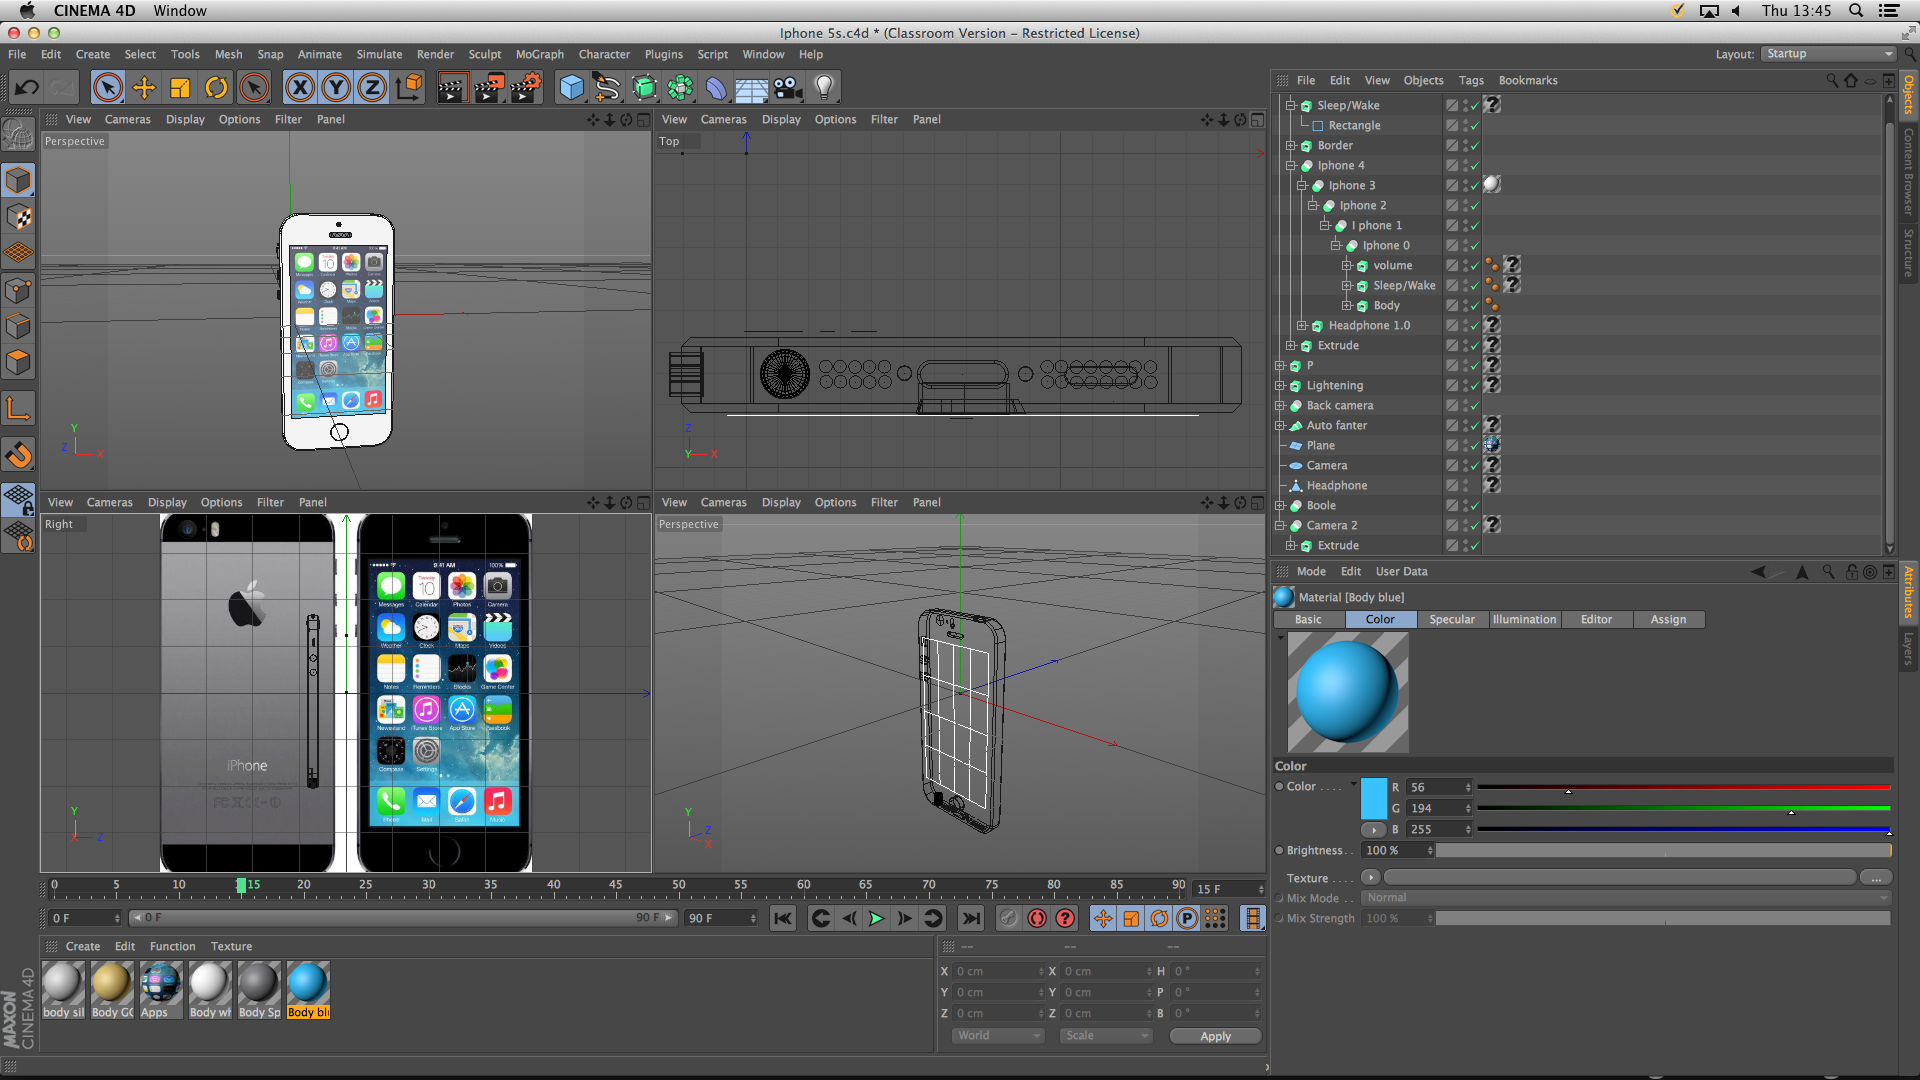
Final 4 view of my product as you can see how i created each parts. I created my product by each separate parts and i joined hem finally.

This is the completed product without any texture, in isometric view.

This is how i created the bottom of the i phone 5s using the image i found on google. I had to build this one by one in order to reduce the mess.

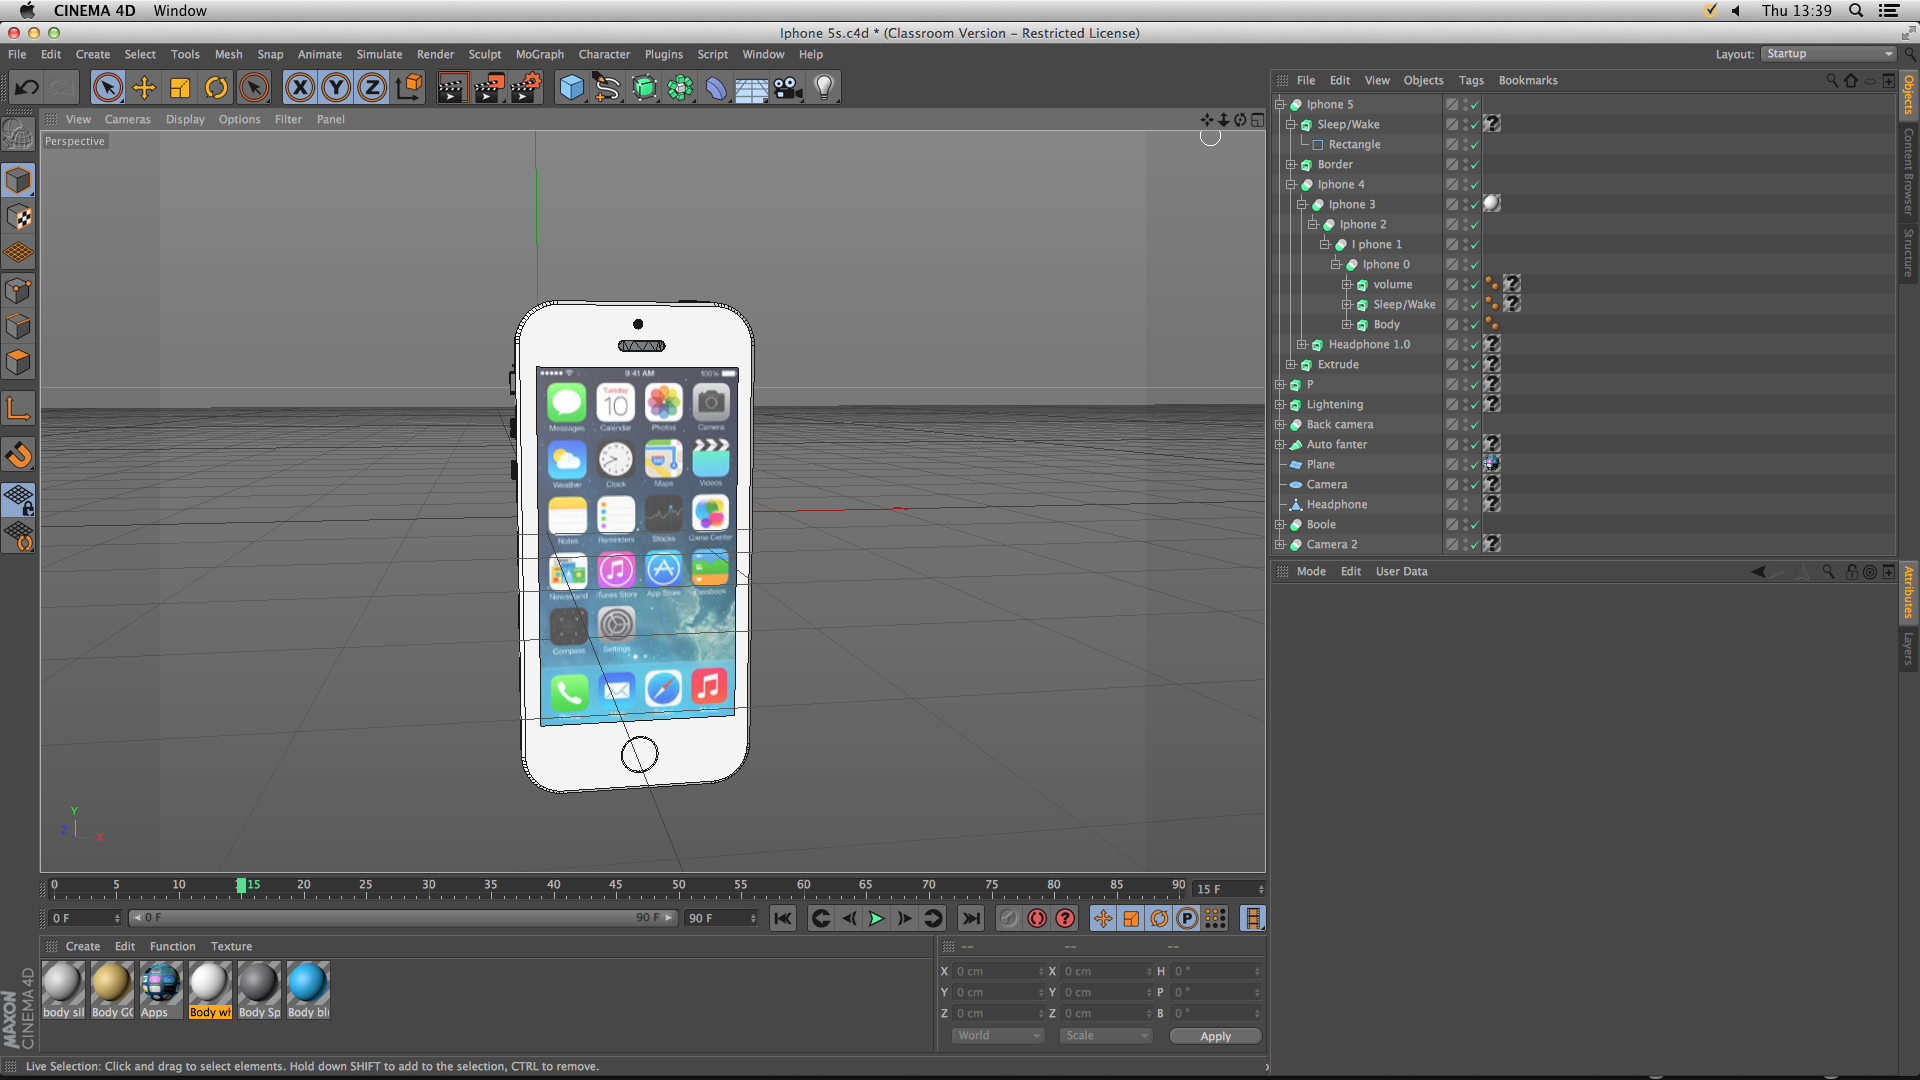
This is the completed i phone 5s without texture in front view. As you can i used the rectangle,square and circle object to create my product.

This is the completed i phone 5s without texture in Right view. As you can i used the rectangle,square and circle object to create my product. I went through the right size and measurement of the i phone.

This is the four different parts i used to create my product as you can see in 4 different views.

My final Product completed with texture, as you can see how i build my product and i used the four different views in order put the parts in right composition.